Using the Fuchsia extension for VS Code

This extension adds support for working with Fuchsia targets and source code, including:

  • Connecting to a device.
  • Debugging C++ and Rust code (supported by zxdb).
  • Analyzing logs from Fuchsia devices.

Compatibility

The Fuchsia extension is compatible with ffx 9.20220803.3.1 and forward.

Edit code

By default, VS code provides syntax highlighting, errors and warnings, jumping to a definition, and lists references for C++.

VS Code actively analyzes your code in the background and can show you various warnings or errors. For more information, see Errors and warnings.

The Fuchsia extension also provides syntax highlighting for FIDL and CML.

Connect to a Fuchsia device

The Fuchsia extension allows you to connect to a Fuchsia target which can be a physical device or an emulator. The extension supports multiple target devices and allows you to easily switch between various Fuchsia devices. You can only connect to a single device at any given time.

If your emulator is properly configured and started, you should see a and the name of your Fuchsia device in the status bar of VS Code. If you are using the emulator and not seeing a Fuchsia device, see Start the Fuchsia emulator.
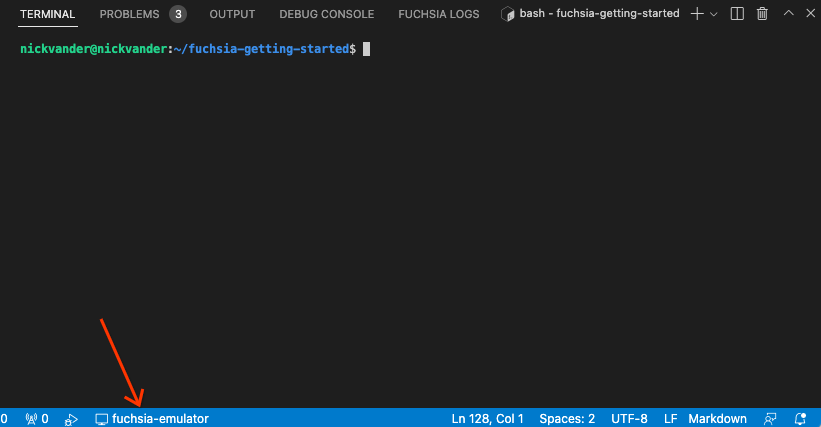
This figure shows the how to connect the Fuchsia VS Code extension
     to a Fuchsia device.

Options for a Fuchsia device

You can click the and the name of your Fuchsia device in the status bar of VS Code to see the various options that you have for your Fuchsia devices. These options display in the VS Code command palette. In most cases, you have the following options:
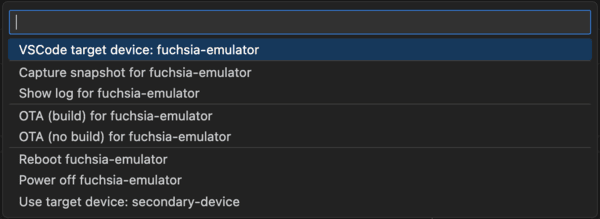
This figure shows the various options to control a connected
     Fuchsia device through the Fuchsia VS Code extension.

  • Default target: <device-name>: This option shows which Fuchsia device is currently configured as your default target. If you have additional Fuchsia devices, click the Set <device-name> as default to connect to that specific device. This is equivalent to running ffx target default get.
  • Set <device-name> as default: This options lets you connect to the selected Fuchsia device. This is equivalent to running ffx target default set <device-name>.
  • Show log for <device-name>: This option opens the Fuchsia logs tab of the Fuchsia extension. For more information, see View Fuchsia logs. This is equivalent to running ffx log.
  • Reboot <device-name>: This options restarts your Fuchsia device. This is equivalent to running ffx target reboot.
  • Power off <device-name>: This option powers off your Fuchsia device. This is equivalent to running ffx target off. If you power off a Fuchsia emulator, you need to use ffx emu start <product-bundle> to start the emulator again. For more information, see Start the Fuchsia emulator.

View Fuchsia logs

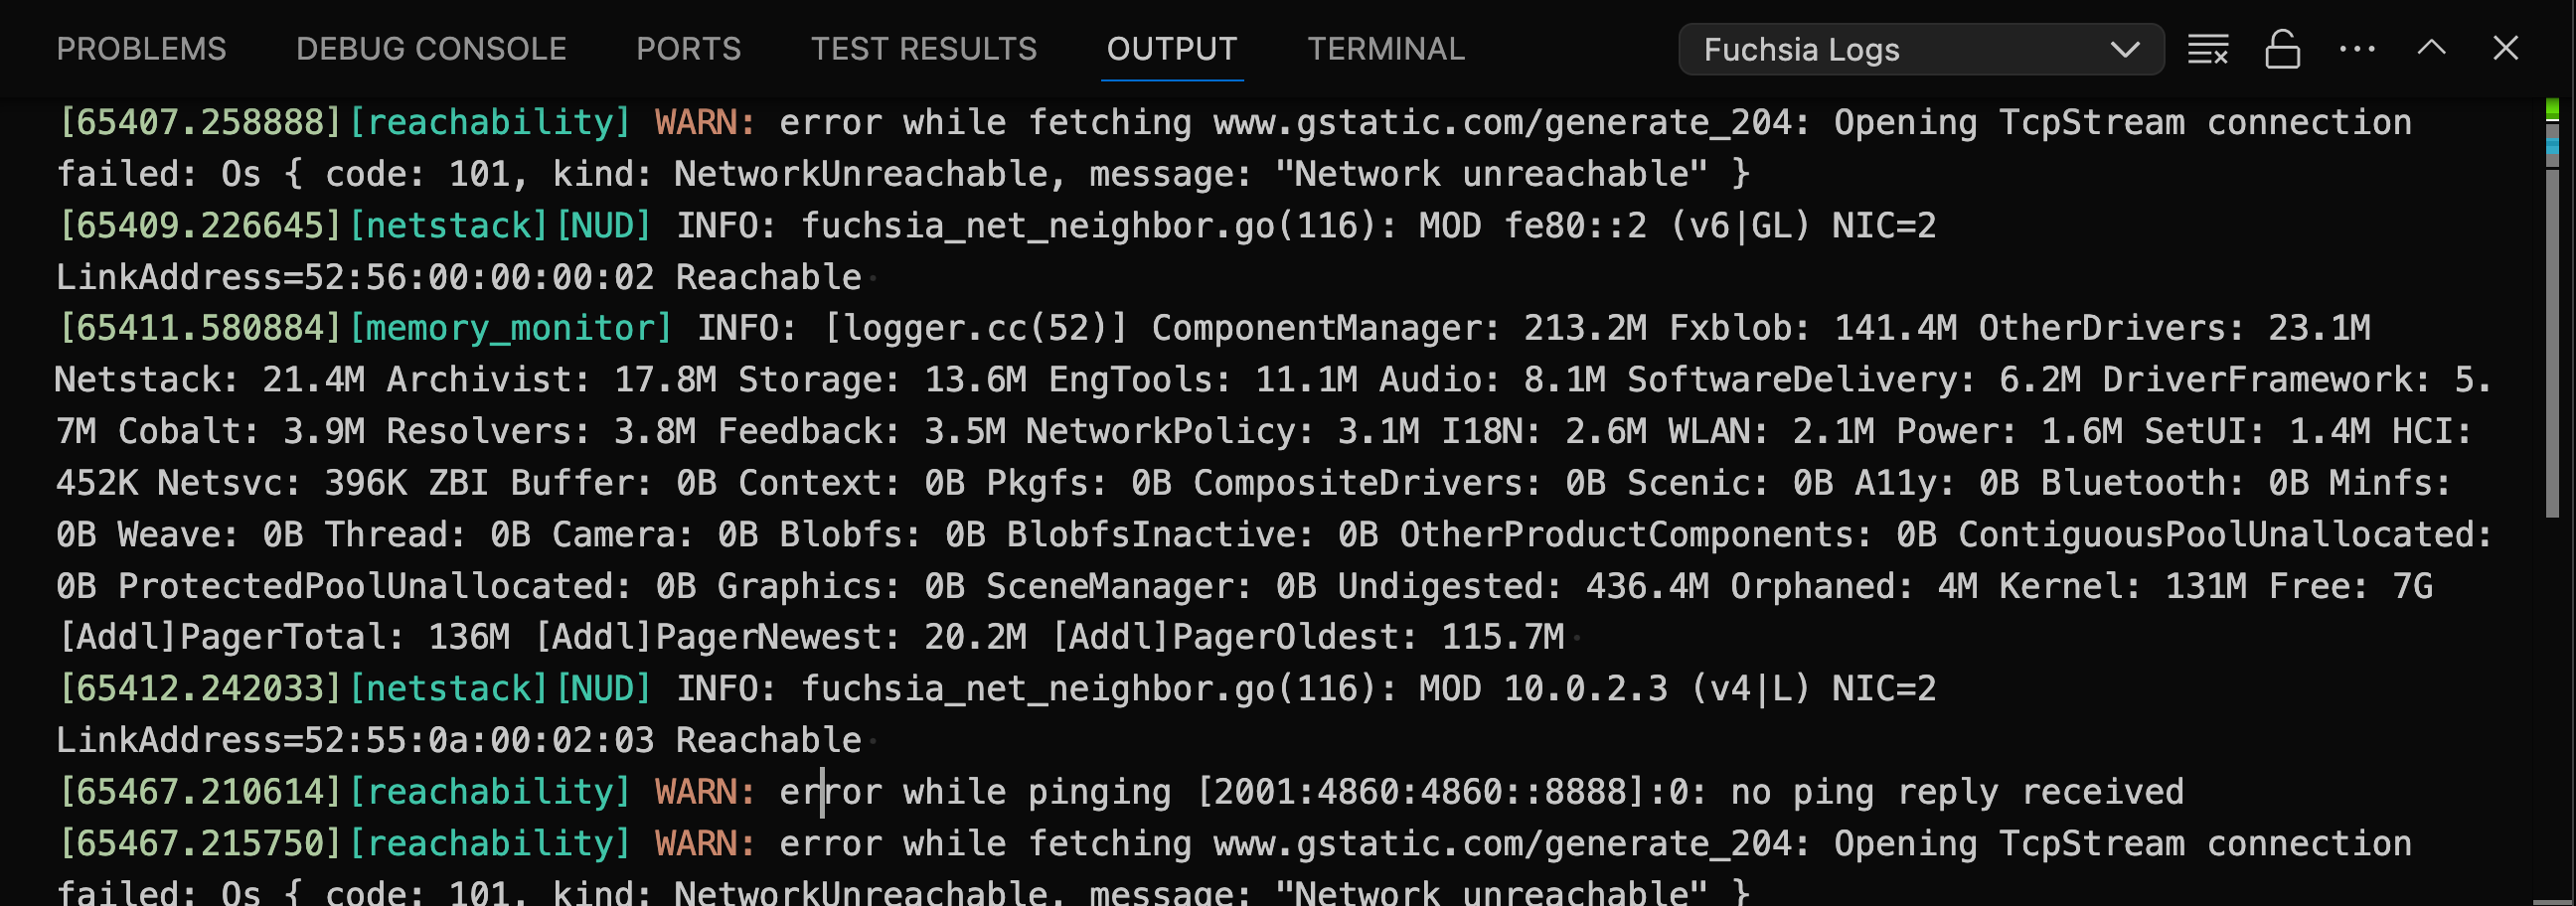
The Fuchsia extension allows you to view the symbolized logs (human-readable stack traces) for your connected Fuchsia device. This is equivalent to running ffx log. For more information on ffx log, see Monitor device logs.

In the Fuchsia logs tab, you can see the following:

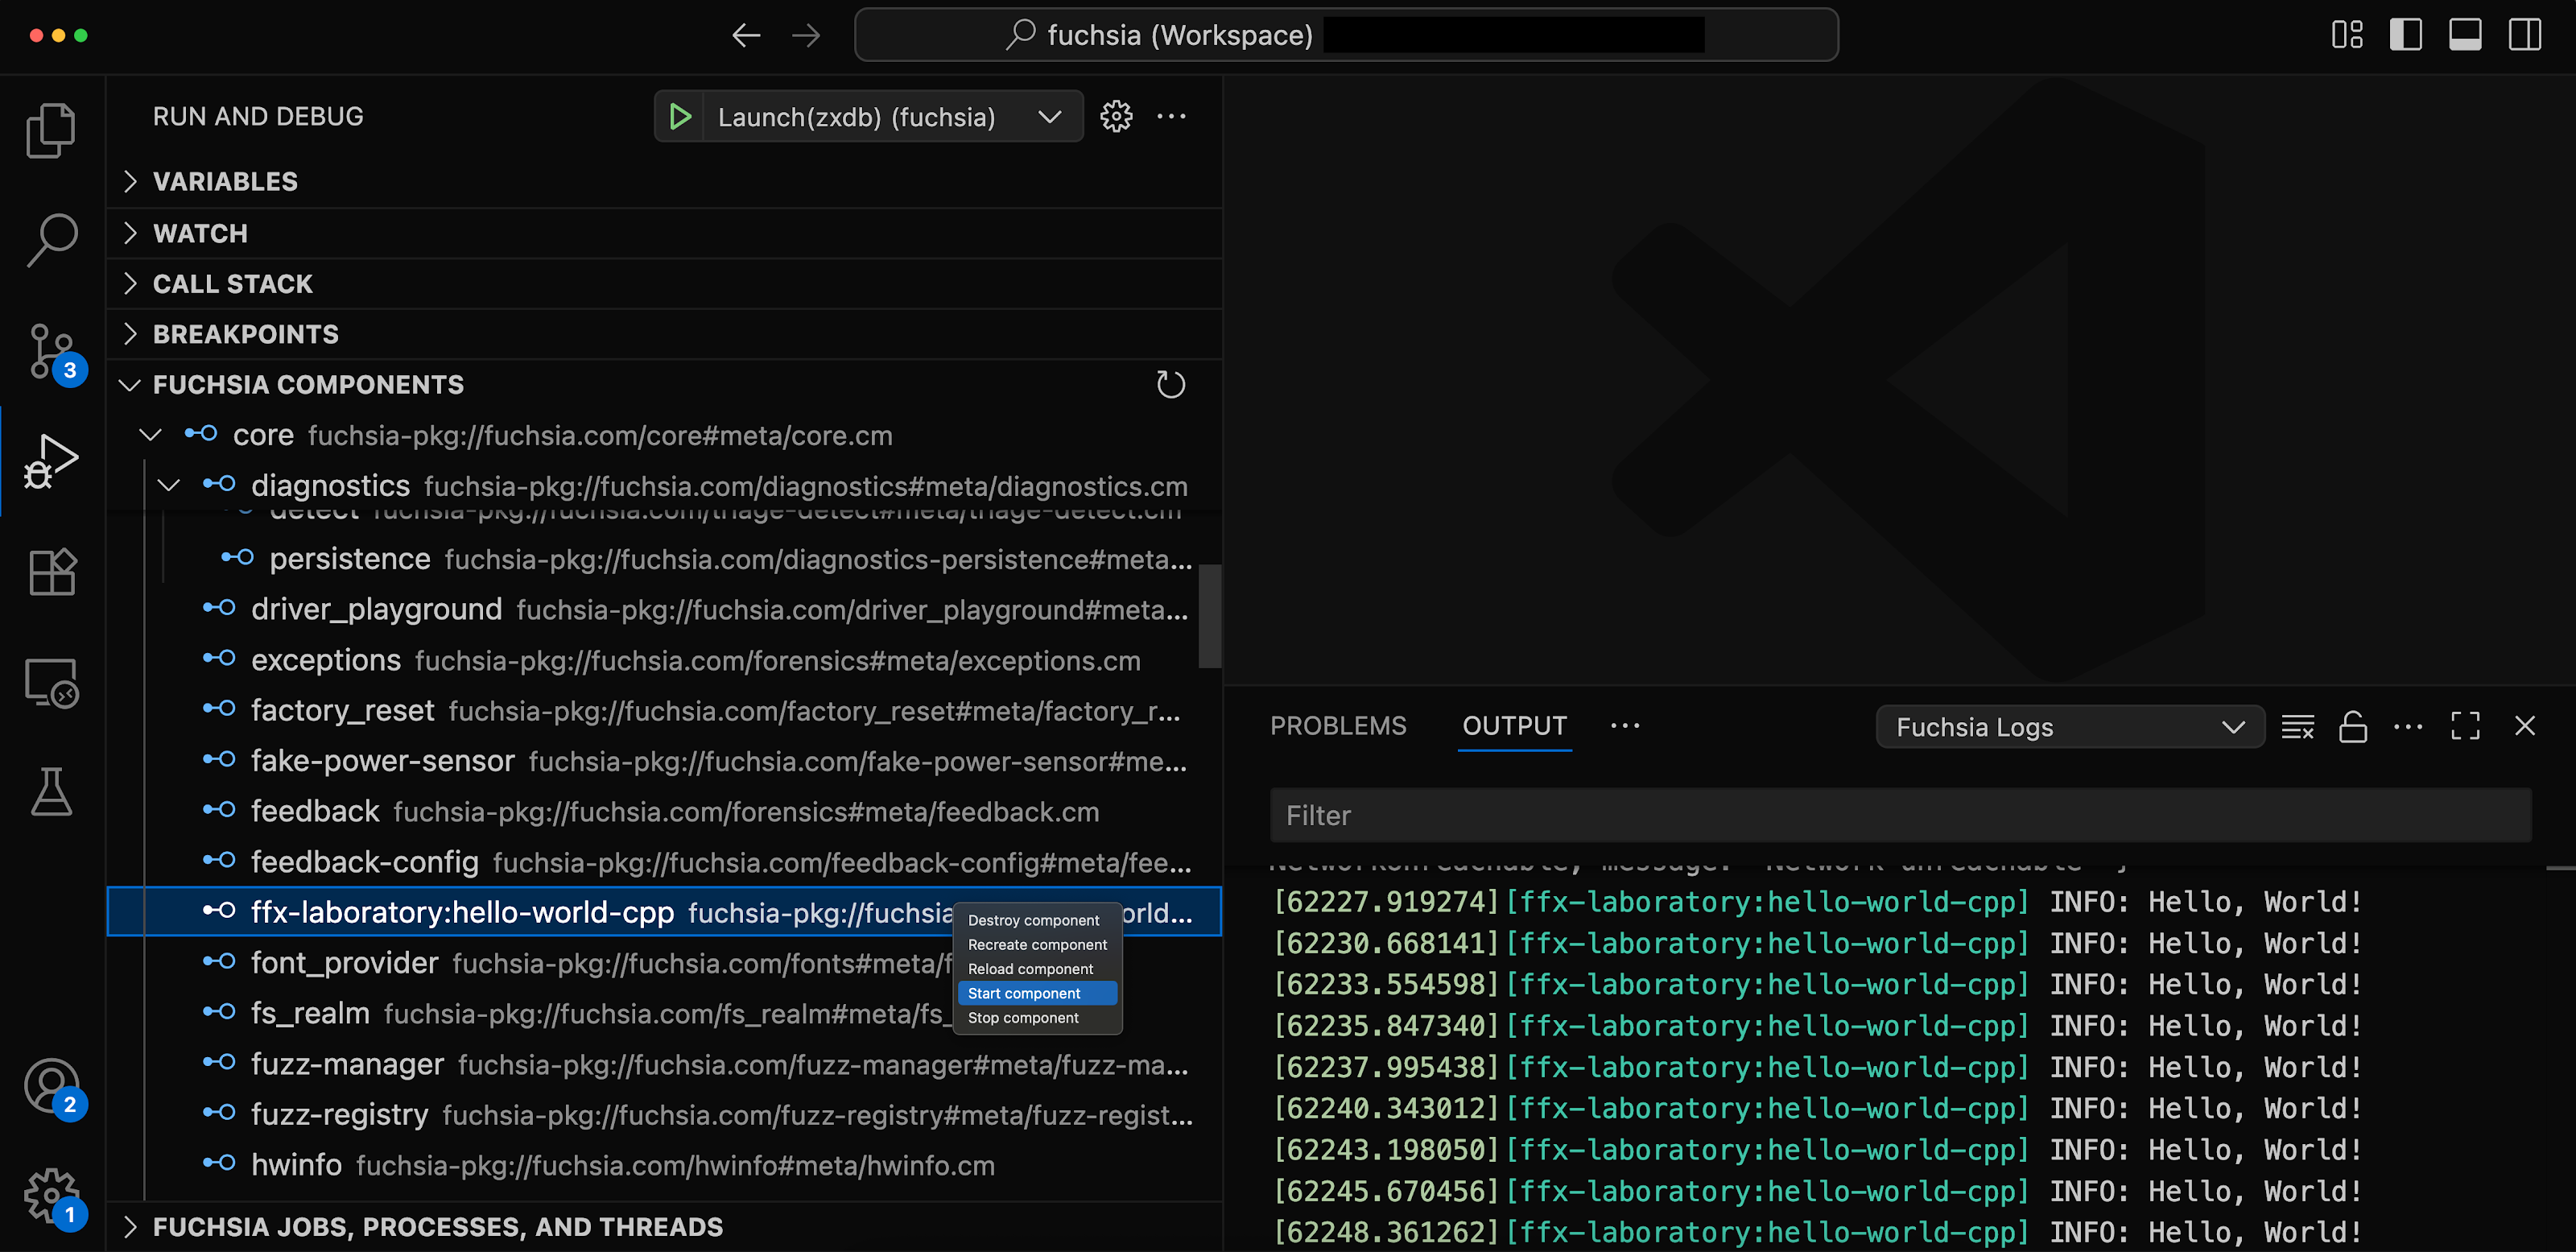
This figure shows the Fuchsia logs from the Fuchsia extension.
     There is a filter to see all INFO severity logs that don't include any
     network or vulkan component monikers.

  • Timestamp: This shows the timestamp (read from the system monotonic clock) of the event. The time is since the device was booted. It is formatted with 5 digits (leading zeroes) for seconds and three digits for milliseconds (trailing zeroes).
  • PID: This shows the process identifier for the process that generated the log message.
  • TID: This shows the thread identifier for the thread that started the process that generated the log message.
  • Moniker: This shows the component moniker of the component that generated the log message. For more information on component monikers, see Component monikers.
  • Tags: This shows the tags that have been associated with the logging event. For more information on adding tags to logs, Logging in Rust.
  • Severity: This lets you filter all log messages with certain severities including based on a severity of at least a specified level. For example, severity:WARN or severity>=WARN would include all logs with severity levels WARN, ERROR, and FATAL. severity=WARN would only include logs with a WARN level. You can use severities to filter based on a minimum, exact, or a maximum severity, see [Example][#filter-examples]. The valid values (in order of decreasing severity) are:

    • FATAL
    • ERROR
    • WARN
    • INFO
    • DEBUG
    • TRACE

    For more information on severity of log records, see Choosing severity for log records.

  • Message: This shows the actual logging message.

Filter Fuchsia logs

You can filter the Fuchsia logs to find specific logging events. To filter the Fuchsia logs:

In the Filter logs... text box at the top of the Fuchsia logs tabs, use the following syntax:

A filter is composed of one or more sub-filters of the following form:

<category> <operator> <value>

Where:

  • category: For valid categories, see Categories.
  • operator: For valid categories, see Operators.
  • value: depends on the category. For:
    • severities: a severity name. For valid severities, see Categories.
    • rest of the categories, depending on the type:
    • a string without spaces (or with escaped spaces \)
    • a double-quoted string: which can contain any character but must escape " and \` with a`.
    • a regular expression, see Regular expressions
    • a number
    • a boolean (true, false)

Additionally, sub-filters may be joined with OR. Any logical expression can be expressed. For example:

this-filter-is-always-here (first-alternative-filter OR second-alternative-filter)

For example message:"Hello world" queries for log message that contain Hello world.

Finally, the logging viewer also supports passing raw strings and regexes as filters. This causes the viewer to filter on any field containing the given value. For example:

  • Writing foo will show logs where any field contains the word foo.
  • Writing foo barwill show logs where any field containsfooandbar` at any position.
  • Writing "foo bar" will show logs that contains the string "foo bar" anywhere.
  • Writing not foo or !foo will show logs that do not contain foo anywhere.

Categories

The filtering supports the following categories:

  • any: This lets you filter by any of the supported fields. This is equivalent to just writing the raw string, for example any:foo is the same as foo.
  • manifest: This lets you filter by the name of the manifest that is in the corresponding section of the URL with which the component was launched.
  • moniker: This lets you filter by the component that emitted the log.
  • package-name: This lets you filter by the name of the package that is in the corresponding section of the URL with which the component was launched.
  • tags: This lets you filter by tags that may be present in a log.
  • severity: This lets you filter all of the log messages with the specified severity. The valid values (in order of decreasing severity) are:

    • FATAL
    • ERROR
    • WARN
    • INFO
    • DEBUG
    • TRACE
  • message: This lets you filter by the content of the log message.

Additionally you can filter based on additional keys defined in the Fuchsia logs JSON payload. For example myCustomKey:"Hello world". For more information, see Logs.

Operators

The filtering supports the following operators:

  • :: This operator lets you query and has different uses depending on the specified value:
    • If the value is a severity the operator is treated as a >=. For example, severity:info indicates severity>=info.
    • If the value is a string, the operator filters logs that contain the string.
    • If the value is not a string or a severity, the operator is treated as an =. For example to compare an integer or boolean value.
  • =: This operator lets you query if the filter contains an exact match.
  • >, <, >=, <=: These operators let you compare values. This is only supported for custom categories and severity.

Logical operators

  • or or |: This lets you use an or qualifier in your query or to chain multiple queries.
  • not or !: This lets you use a not logical operator in your query or to chain multiple queries.
  • and or &: This lets you use an and logical operator in your query or to chain multiple queries.

The operator and takes precedence over or. So, the following two statements are equivalent:

moniker:foo severity:info or moniker:bar
(moniker:foo and severity:info) or moniker:bar

not always applies to the filter/expression next to it. So the following statements are equivalent:

not severity:info moniker:bar not (tag:baz id=3)
(not severity:info) moniker:bar !(tag:baz and id=3)

Regular expressions

A regular expression can be passed to operators : and =. When used with a :, the regular expression will be searched for within the category it's being applied to. When used with =, the entire field must match the regular expression.

A regular expression must be written within /. For example: moniker:/core.+net.+/.

A regular expression can also be used without targeting a category, by just writing /regex-here/, just like filtering with raw strings. When used this way, logs that contain a field where a match for the regular expression was found will be displayed.

Examples

  • Show logs from the core/test and core/network monikers:

    moniker:core/test|core/network
    

    This is equivalent to:

    (moniker:core/test | moniker:core/network)
    
  • Show logs of severity error or higher, where the component url contains a package named hello, where the manifest is named hello or where the message contains “hello world” but where the message doesn’t contain “bye”:

    (package_name:hello | manifest:hello | message:"hello world") severity:error !message:"bye"
    
  • Show logs where any field contains hello, world, or test either in the message, component url, moniker, etc...:

    any:hello|world|test
    
  • Show logs that include severities of INFO, WARN, ERROR, and FATAL:

    severity:info
    
  • Show logs that only include severities of INFO:

    severity=info
    
  • Show logs with a maximum severity of INFO, but that doesn't actually include INFO. This shows logs with severities of TRACE and DEBUG:

    severity<info
    

Clearing the Fuchsia logs

Once the Fuchsia extension has streamed the Fuchsia logs, you can clear the listed Fuchsia logs to see the incoming logging events for your Fuchsia device.

To clear the Fuchsia logs, click the in the top right corner of the Fuchsia logs tab.

Debug code

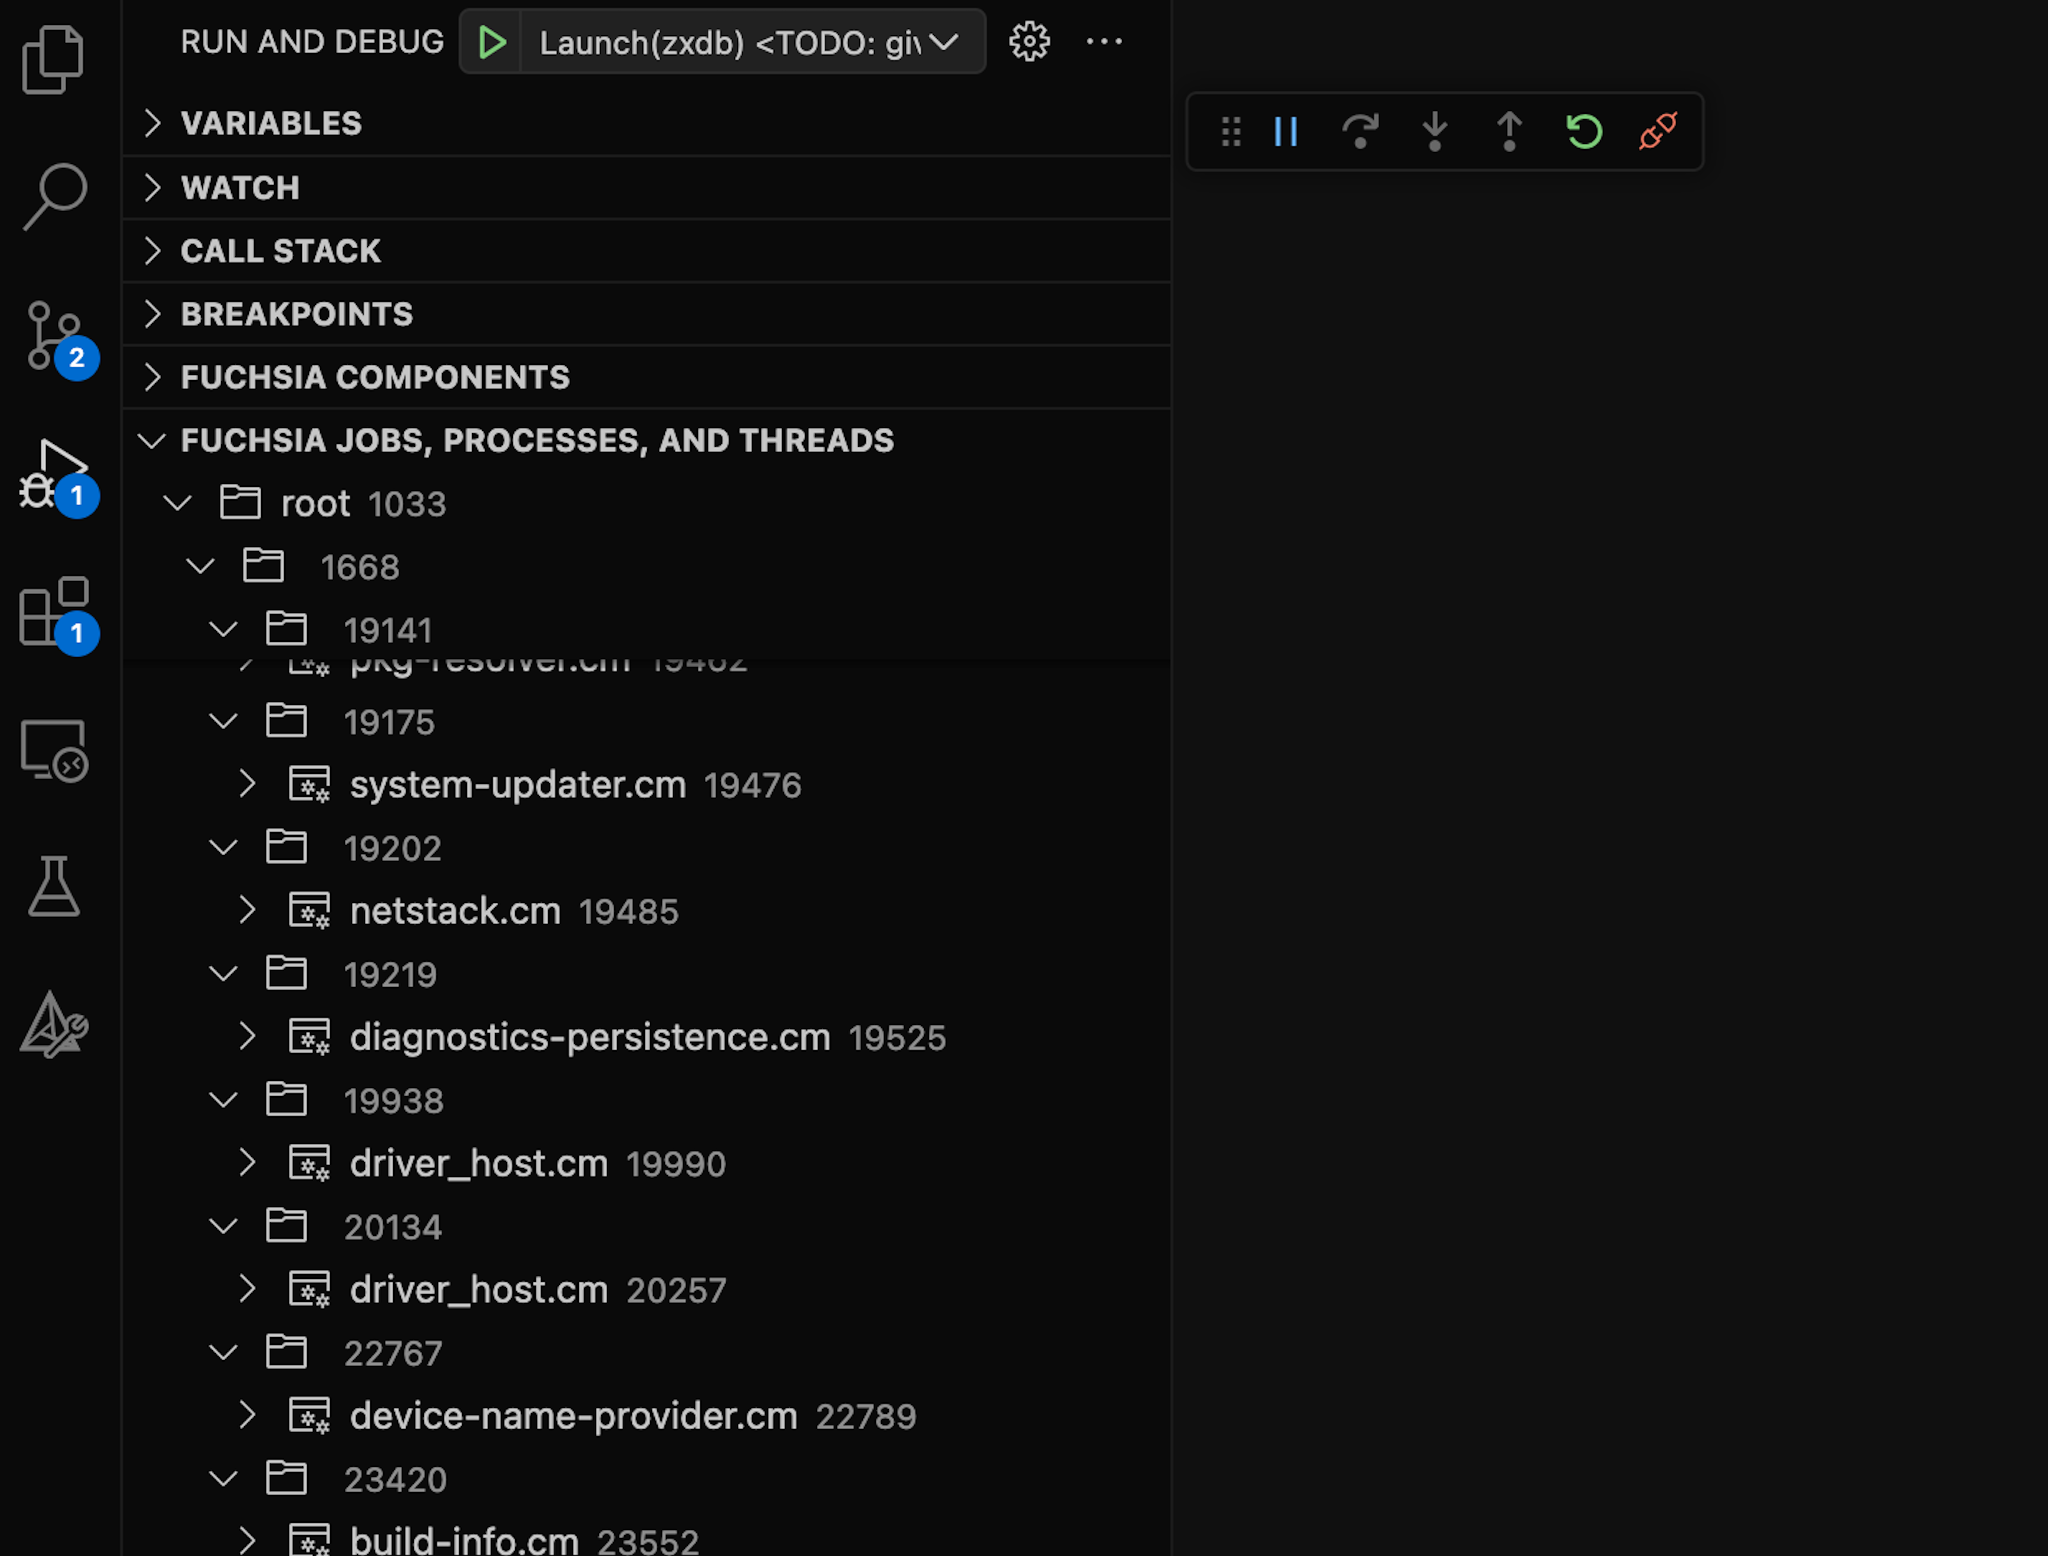
The Fuchsia extension allows you to run the Fuchsia debugger, zxdb. This integrates the zxdb debugger into the VS Code IDE to let you set break points and other debugger settings as you are working with source code.

Configure a profile

Before you start using the debug console, you need to create a debugging profile. You can create several debugging profiles and then easily toggle between each profile.

To create a debugging profile:

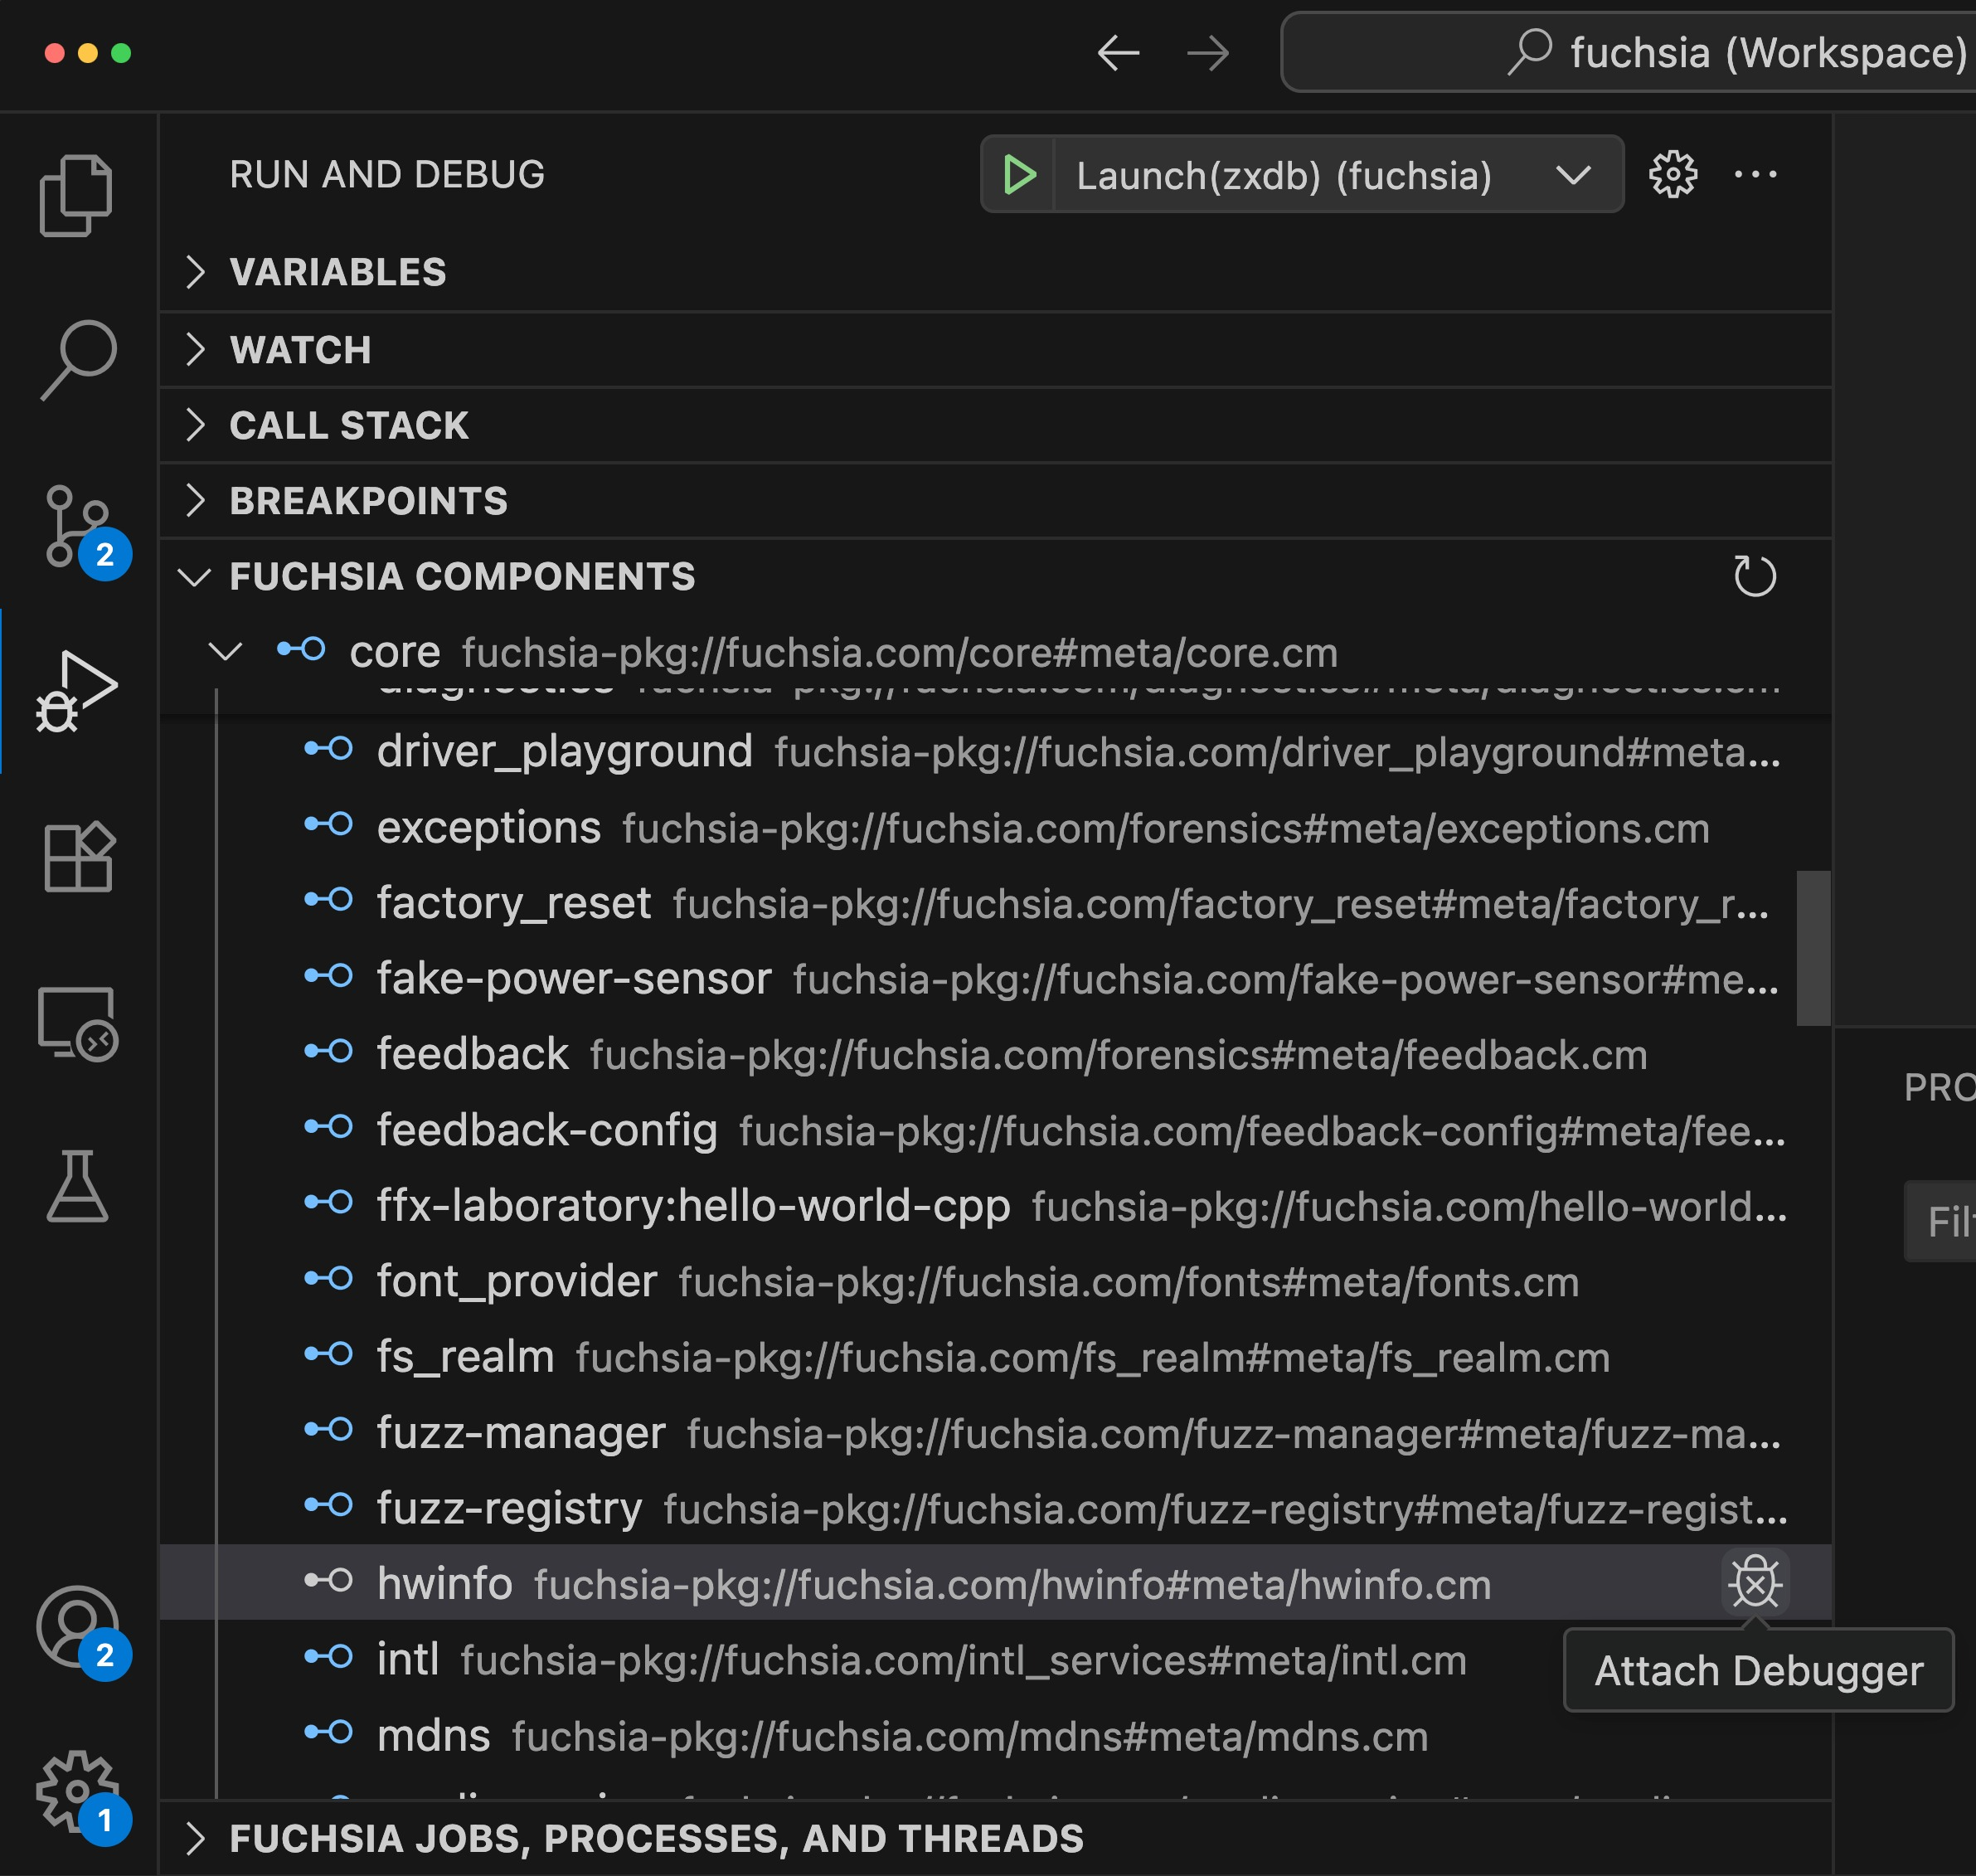
  1. In VS Code, open Run and Debug (this option is in the left side-bar and has a play and bug icon).

    This figure shows how to start Run and Debug in VS Code.

  2. From the Run and Debug: Run panel, click Show all automatic debug configurations. Then, from the command palette, select Add Config (fuchsia). The editor will open a launch.json file.

  3. The editor should display a list of prepopulated debugging profiles, select any of the profiles that start with zxdb.

    Modify the key/values as needed for your debugging profile. Before you edit the profile, consider the following:

    • name: Specify a meaningful identifier for the profile.
    • type: Specify zxdb. This is the only Fuchsia debugger.
    • request: Specify launch. This is the only valid option.
    • launchcommand: Specify the alias or path to the ffx binary and append any options and parameters. In most cases, this will be a ffx component run ..... For more information, see Run components.
    • process: Specify the name of the component that you are debugging.
  4. Once you have added the values for your profile, launch.json should look similar to the following:

       {
         "configurations": [
         {
          # Specify a meaningful identifier.
          "name": "Debug examples",
          # This is a fixed required value.
          "type": "zxdb",
          # This is a fixed required value.
          "request": "launch",
          # Specify the desired launchcommand.
          "launchCommand": "tools/ffx component run /core/ffx-laboratory:hello_world fuchsia-pkg://fuchsiasamples.com/hello_world#meta/hello_world.cm --recreate",
          # Specify the process that you want to debug.
          "process": "hello_world"
        }
        ]
      }
      ```
    
  5. Save the changes that you made to the launch.json file.

You have successfully created a debugging profile. You can repeat the instructions to add additional profiles.

Run and debug

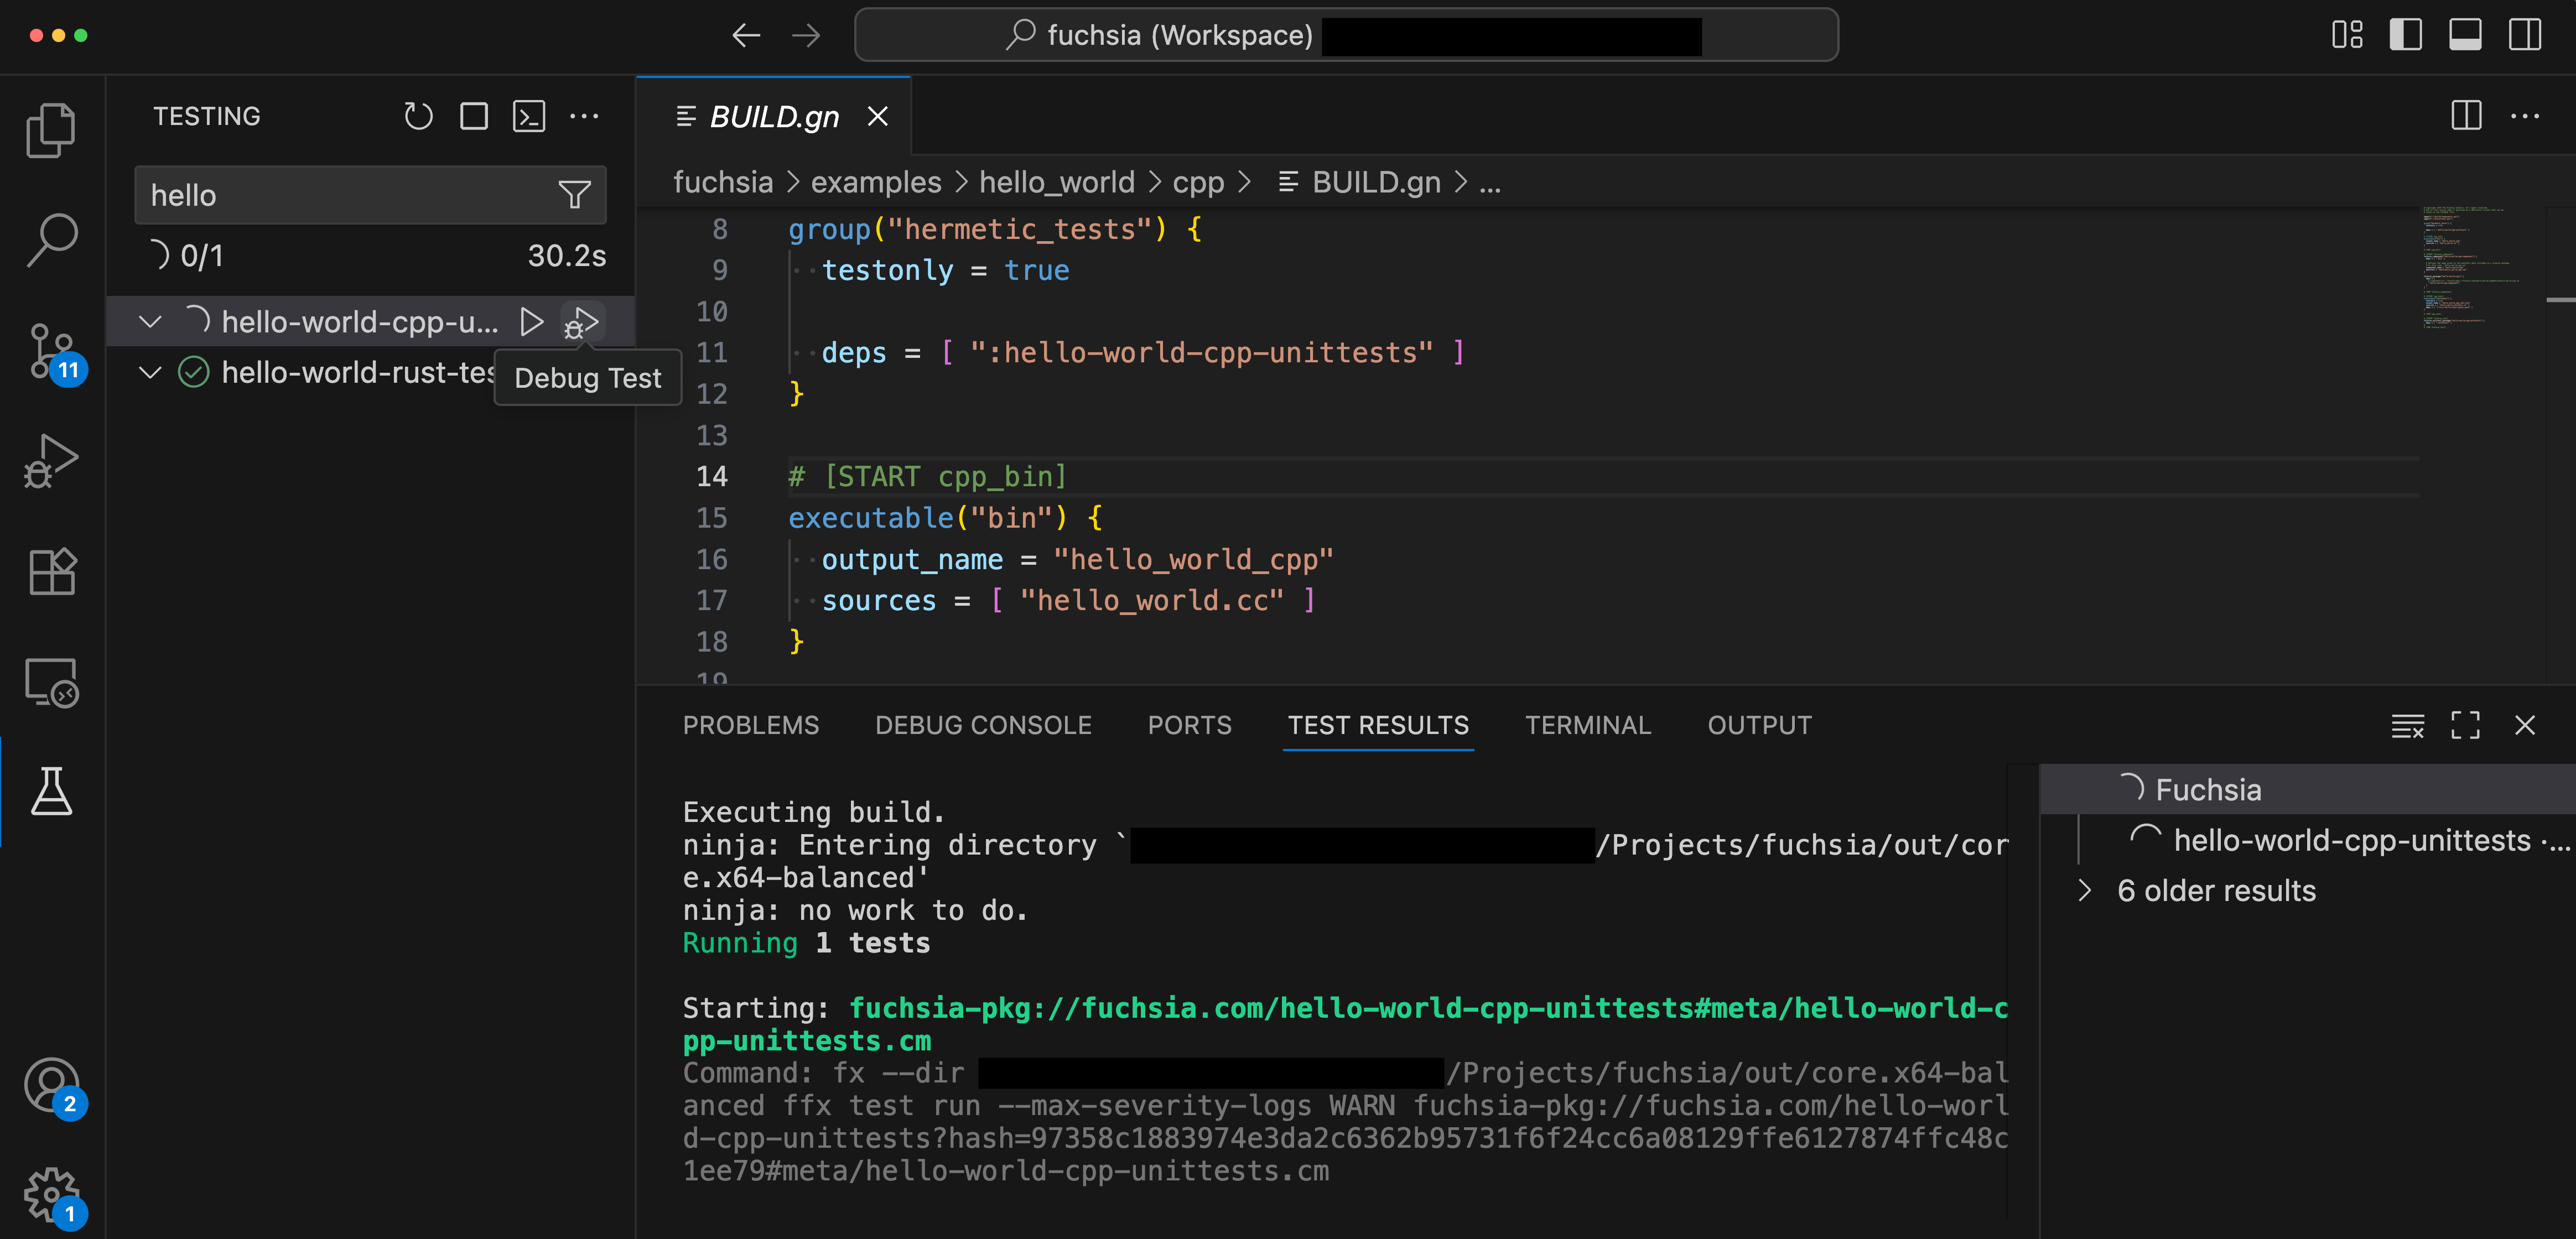
Once you have created a debugging profile, you can use your profile to run and debug a component that you are working on.

To start the debugger:

  1. In VS Code, open Run and Debug (this option is in the left side-bar and has a play and bug icon).
  2. From the Run and Debug: Run panel, use the drop-down list to select your debugging profile. Then, click the green to the left of the drop-down list to start the debugging session.

    This figure shows the how to change debugging profile in VS Code.

Once you have started the debugger:

  • You can use the Debug console tab to run zxdb commands. For more information on zxdb console commands, see Zxdb console commands and interaction model.
  • You can use the VS Code debugger features to perform debugging actions, add breakpoints, logpoints, etc... For more information, see Debug actions.